
Creating your own lightboard: You don’t need the classroom to teach seamlessly
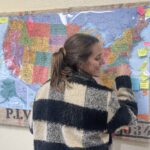
What do you get when you combine a storm door, Google Meet, and Davidson County Community College (DCCC) educator John Hardee? A transition from traditional classroom to remote learning without skipping a beat.
Hardee, a mathematics instructor who has been at the community college for four years, created a lightboard to continue instruction for his more than 55 students as they finish out the school year.
Hardee has taught everything from Mathematics 110 to Calculus III, and even some machining courses. The students in his classes are on the path to working in a range of industries – from an EMT or a nurse to a paralegal or a welder, everyone needs math skills.
A week before Gov. Roy Cooper closed school buildings, DCCC was going on spring break. Faculty at the college were already in discussion about how they would transition to online instruction if schools were to close due to COVID-19. Hardee said he was prepared because he already has the experience of teaching most of his courses online. DCCC asks its instructors to teach at least one online course a year.
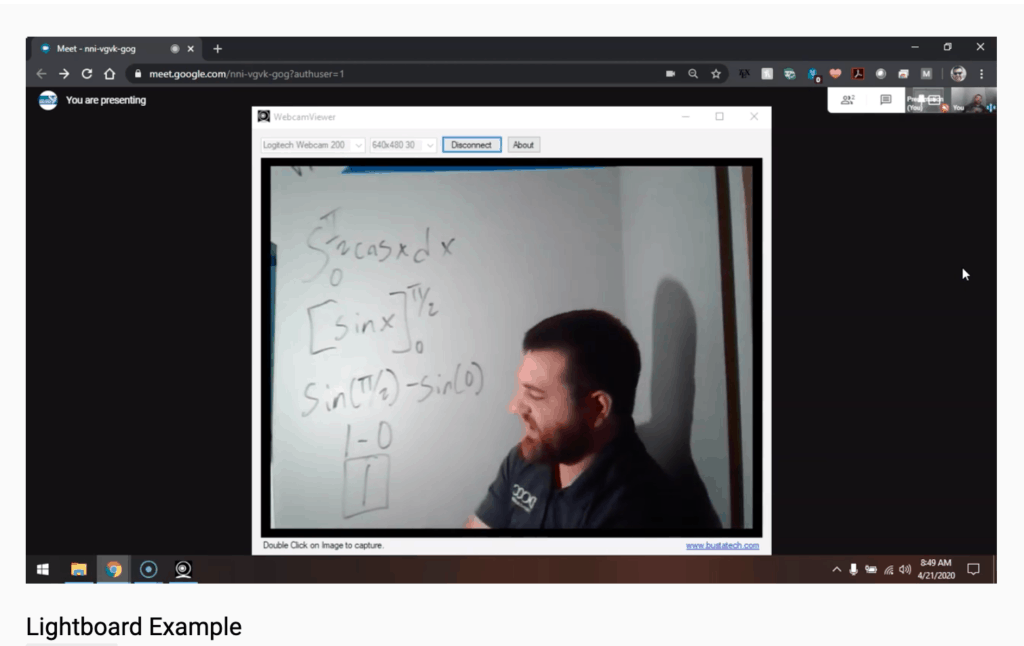
For Hardee, moving online was a “seamless transition.” His motto is to “minimize confusion and increase communication.” The most difficult thing for students, he says, is loosing the consistency of physically going to school.
He himself was a dual-enrollment student at Caldwell Community College and Technical Institute in high school. He had such a good experience there, that he said it changed his perception of the system. It went from, “[the community college] being the place that was the last straw, to kind of being the first step for students.”
What’s the most important thing for educators to do in transitioning to online instruction? Hardee says focus on your strengths.
“The reason I did [the lightboard] is because my way of lecturing and interacting and teaching material in the classroom is my strength,” he said. You don’t have to create an online class – just adapt what was working in your classroom.”
How do you create your own lightboard?
You’ll need the following supplies. Check out Hardee’s video for personal instruction or see below for directions.
Supply list
- Laptop or computer
- Light such as a desk lamp
- Storm door, glass, or plexiglass panel or glass shower door
- Cardboard box, blanket, bed sheet
- Painter’s or masking tape, some type that can be reused and will not leave residue on glass
- Webcam or smartphone (you can use a smartphone and join into a web meeting directly if you do not have access to software)
Directions
- Get cardboard box and take one side off
- Affix the glass/plexiglass panel on the side of the cardboard box you removed, use tape if necessary to attach
- Insert web cam inside the box, make sure it is around four feet from the presenter, and parallel to presenter’s eye level, capturing perpendicular to the glass both vertically and horizontally
- The webcam will need to be set up on a separate webcam grabber and program. You will want to have a separate program that can grab the webcam view, where you can pull it up on a separate window. (Instructions for this at 2:26 in video)
- Set up the light to be parallel to the glass edge side, to ensure light goes behind the text, and not directly in front of the glass which will cause a glare or reflection. (Instructions for this at 3:24 in video)
- On Google Meet, you will press ‘present now’, and choose the webcam window.
- Mark off the border of your work area on the glass by aligning the tape with the outside edge of your webcam image, just out of view,
- Grab your dry erase marker, and start testing!